My New PC Build Walk-Through
It was a dark and stormy night. A tree fell half a mile down the road, broke a power line, caused a brown out, and somehow all of that killed my main computer. Not my server mind you, it was fine. But my main computer that I work and play on was dead as a doorstop. But my story is not one of tragedy or loss as you’ll often hear from people who have all their wedding pictures, baby pictures, vacation albums, life-long memoirs, and PhD thesis all stored on a computer which they never bother to back-up. All my important items were on my file server which I backup frequently. So no, mine is not a story tragedy but of new opportunities, and the final kick I needed to get around to building a new computer for myself.

Yes, I build my own computers. Building a computer may seem intimidating to some, but it’s not really all that difficult. You can save a bundle of money buying your own parts from online retailers like New Egg, and best of all, you know exactly what’s going into the machine. It’s the ultimate in customized computer perfection. Having said that, you do need to do a bit of research to find out exactly what you should get and, more importantly, what parts are compatible with each other (i.e., make sure you get the right motherboard with the right CPU socket for the processor you want to get, and likewise, make sure you get the right kind of RAM that fits the motherboard).
This post is going to follow my build process step-by-step, and may also be used as a light tutorial. But if you are new to building PCs, I strongly recommend you do a bit more research before diving in head first. I take no responsibility for any damage that may occur (either to your hardware or to your person) if you follow this guide alone — it is not a complete step-by-step, and is valid only for this particular configuration.
But first, here’s a run-down of the hardware I bought:
– RAIDMAX SMILODON ATX-612WBP Black ATX Mid Tower
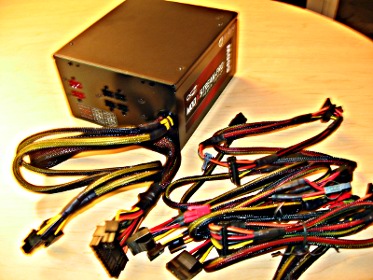
– 600 watt OCZ ModXStream Pro modular power supply
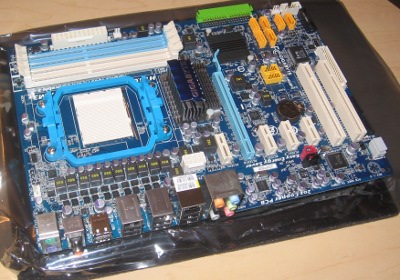
– GIGABYTE GA-MA770T-UD3P AM3 AMD 770 ATX AMD Motherboard
– AMD Phenom II X3 705e 2.5GHz Socket AM3 65W Triple-Core
– OCZ Gold AMD Edition 4GB (2 x 2GB) 240-Pin DDR3 SDRAM 1600 MHz
– Sony SATA DVD-ROM
– Sony SATA DVD/CD Rewritable Drive
– GeForce 9500 GT 1GB 128-bit GDDR2 PCI Express 2.0 x16
– Intel X25-M Mainstream 80GB SATA II MLC SSD
Of course, this is by no means the best and baddest hardware — I aim for cost effectiveness and efficiency, while maintaining fairly high (but not over-the-top) performance.
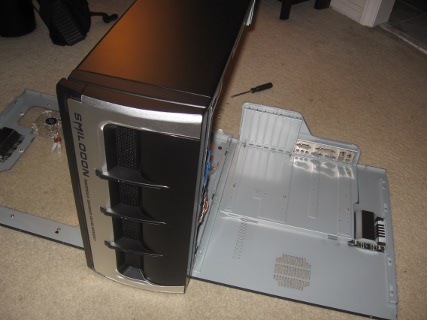
Let’s begin with the case. A lot of people consider the case to be of secondary importance, or simply find one that looks good but lacks functionality. The RaidMax Smilodon both looks good and is quite functional (a smilodon, by the way, is the proper name of a saber-tooth cat, if you were wondering).
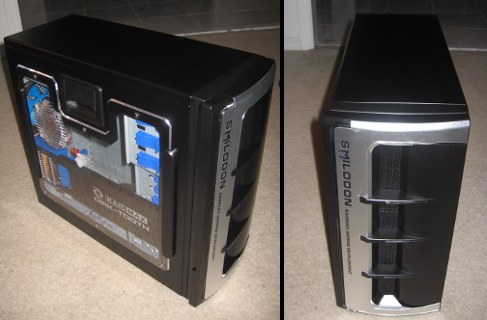
Look how the motherboard tray just folds out. Few cases do this, but it’s very handy.
I also bought a 600 watt modular power supply from OCZ to replace the cheep piece of junk power supply that comes with this otherwise awesome case. Modular power supplies are the only way to go.
Here’s the motherboard. It does not have a built-in video card (I bought a separate “sort-of high performance” card for advanced 3D acceleration) but it does come with on-board LAN, 8-channel audio with digital optical output, and 8 USB ports, and 2 Firewire ports.
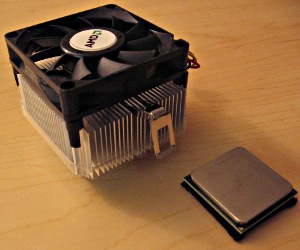
This is the main CPU that clips into the AM3 socket on the motherboard. It’s a triple-core AMD Phenom II, which means it actually has 3 cores in a single chip. Yes, 3 cores may sound kind of odd, but it’s just an ordinary quad-core with 1 core disabled (I could attempt to re-enable it, but I really don’t have the inclination). Next to it is the heatsink and fan for cooling.
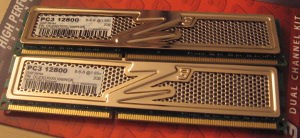
The RAM. It’s 2 chips, actually, totaling 4 GBs of DDR3 SDRAM running at 1066 MHz (1333 MHz is max if overclocked, but I don’t really overclock either).
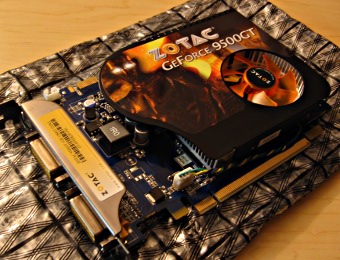
This is the video card. It’s a GeForce 9500 GT with 1GB of GDDR2 RAM. If you’re a hardcore gamer, you’d probably laugh at this. But as I suspect you’ve gathered by now, I’m not a hardcore gamer.
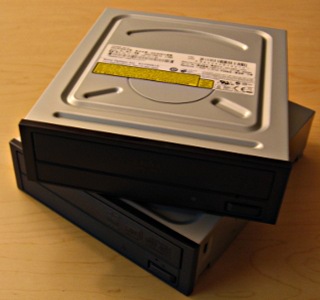
These are the two Sony DVD drives, both are SATA (that’s serial ATA): one is just a reader the other is a DVD writer. It’s not a Blu-ray writer, but like I said, I’m not going for the biggest and baddest.
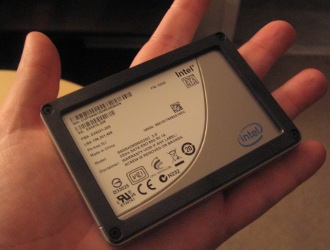
Here’s the nicest bit: a generation 2 Intel X25-M 80 GB Solid-State Drive. If you don’t know, SSDs are the future of data storage. Unlike traditional clunky, noise, mechanical, spinning, adjective-filled, magnetic platter hard drives, these are basically super-high performance flash memory devices. Sure, it’s only 80 gigabytes, but is much, much, much faster than traditional hard drives. I’ve been waiting 15 years for this technology, and now it’s finally available and affordable (well, sort of affordable).
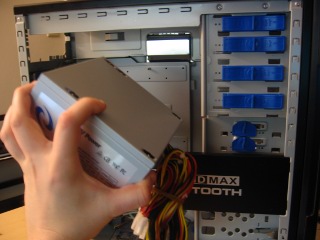
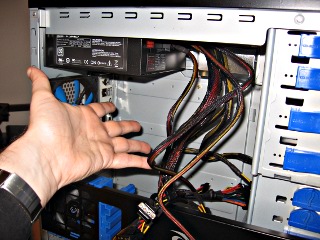
Let’s start by adding the power supply to the case. First I remove that piece of junk power supply that came with the case, toss it aside, and then attached my shiny 600 watt modular power supply.
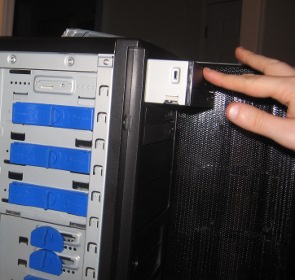
Many people would add the motherboard next, but I prefer to get the drives in place before hand. To do this, I just pop out the drive bay cover plates and screw the drives into place. However, this case comes with fancy locking rails. I’ve never had a case with those before — they really make things easier.
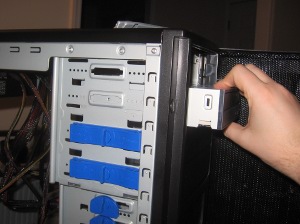
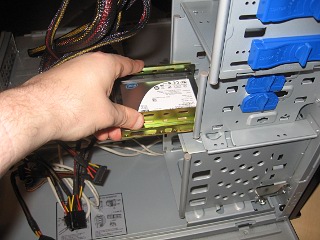
And then I attach the Intel solid-state drive in a similar manner. The Intel SSD is only 2.5″ wide and is designed for notebooks. To make it fit in a 3.5″ bay, I had to use mounting brackets.
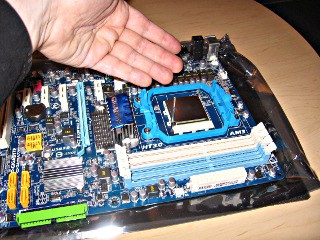
At this point most people would install the motherboard. I am not most people. I prefer to install the CPU chip and memory before putting the motherboard in the case. It just seems easier. First we install the chip. That’s the easy part:
Attaching the heatsink and fan correctly is extremely important. Failure to do so could result in a catastrophic chip disaster (aka, a broken chip). The heatsink that came with the chip I bought has a thermal compound already added to the base, but if you get a 3rd party heatsink and fan (many people prefer copper coolers, as they do conduct heat better), you may need to add your own thermal compound. Either way, once you’re ready, firmly place the heatsink into position and make sure it looks to be aligned correctly. Then we clamp down the massive retention mechanism to keep this whole assembly permanently in place. If you hear a crunching sound at this point, you’ve done something horribly wrong and will need to order a new chip. Trust me… I know.
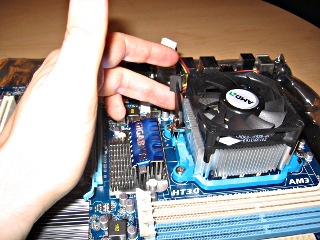
Also, make sure you plug the power for the fan into the correct prongs on the board. If you don’t do that, the fan will not run, and you will likely burn out your chip rather quickly.
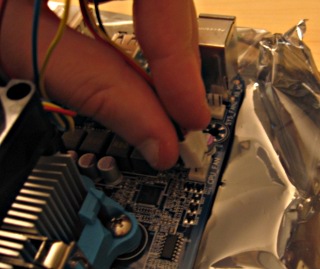
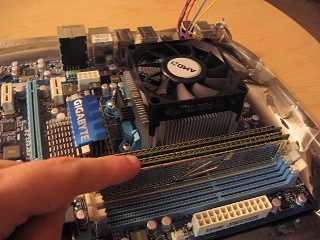
Once that’s done, we add the RAM. If your board uses dual channel memory, check your manual to see what the optimal RAM placement calls for. You will want one stick on channel 0 and the other stick on channel 1, rather than both sticks on channel 0 (or 1). This board is configured such that memory slots 0 and 2 go to channel 0 and memory slots 1 and 3 goes to channel 1. Thus, I put the two sticks in slots 0 and 1 (just as most people would do anyway, even if they did not read the manual). Of course, with 4 sticks of RAM this would be a moot point. The slots are usually color-coded now, too, so just remember to set both memory sticks in the same colored slots.
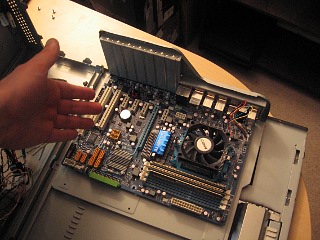
Now, finally, I attach the motherboard to the motherboard tray on the case. As you can see, this is extremely easy with a case that has a fold-down tray. Just put it into position and bolt it down with a few screws.
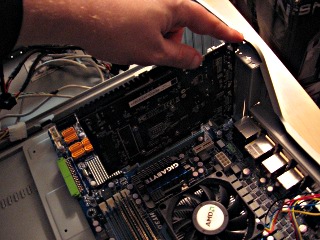
Then we insert the video card into the PCI-express x16 slot.
With all that done, we need to attach all the cables. First, we need to hook up the connections for the front panel, including the all important power and reset switches. Also, if you have them, connect the wires for the font panel USB ports as well.
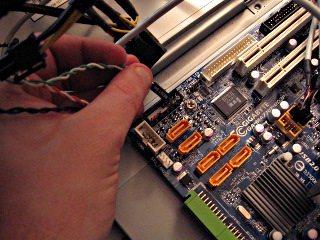
Next we plug the power into the main board (do make sure the main power cable is NOT plugged into the wall outlet).
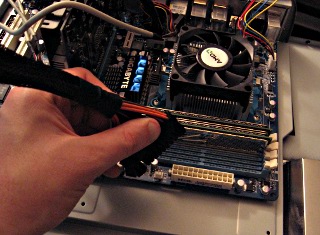
Now we plug the power into the SSD and to each DVD drive.
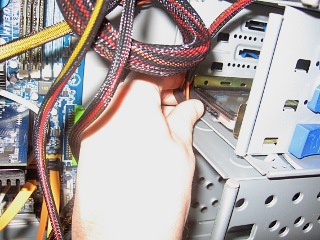
Then we’ll attach the SATA cables to the SSD and the 2 DVD drives (the days of those hideous parallel ribbon cables are now thankfully gone–and good riddance).
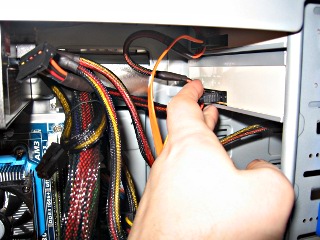
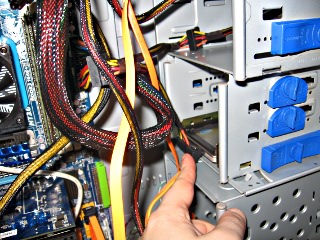
If there are any additional fans on the case (and this case as several) hook them up to the power as well. I did not hook up all the fans on my cases, as I do not anticipate my rig generating an excessive amount of heat… but if it does, I can always go back and activate the other fans for additional cooling.
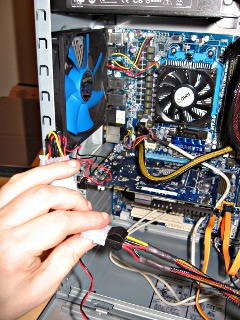
Before closing up the case, double-check all the power and wiring connections, and make sure the memory sticks and video card are well seated in place. Now we close up the case, connect a mouse, keyboard, and monitor, and switch it on!

Okay, let’s plug the power cord into the wall and try that again.
If nothing happens, don’t panic. There may be a master cut-off switch on the back of the power supply that you need to flip to the “on” position first. Then push the main power button on the front of the case and cross your fingers.
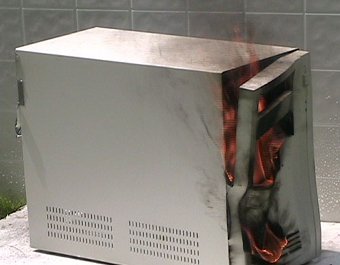
If you get this… well, ummm…. oops.
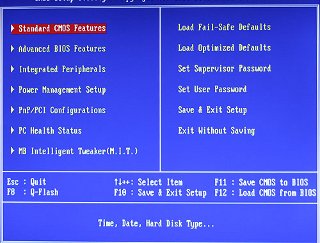
Otherwise, if the computer boots up, you’re good! You should hit DEL to get to the BIOS screen and set that up for the optimal configuration. I won’t go into those details here, but the manual should have a guide. There is a great, fairly up-to-date BIOS guide here.
If you have a Ubuntu disk, just pop it into the CD or DVD drive and boot. This should give you a menu to install (or repair) Ubuntu, or to go into a “live desktop” mode from the CD itself. The Live mode will run very slow (since it is running off the CD), but will get you up and running immediately to test things out.

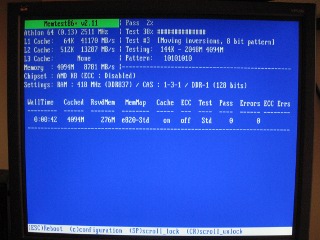
Also, if you boot off the Ubuntu disk you have an option to run the Memory Test (Memtest86+). I strongly recommend that you run Memtest86+ for a minimum of 6 hours once you get your PC up and running… you could simply start it up and leave it running all night or when you go to work (be sure to turn off your screen). Memtest86+ will run a long battery of tests to make sure the memory is OK… this also has the effect of testing your CPU to a fair extent as well, so it also doubles as a fairly good “burn in” test for your new PC. Note that Memtest86+ will run forever if you let it, so don’t wait for it “finish”–otherwise, you’ll be waiting a long time. Just make sure it does a few complete passes (at minimum) and then shut down or reboot the computer. Hopefully you won’t get any errors. If you do, you’ll need to return the memory as defective (better to find out now, right?).
Now with the build finally completed, you just need to install an operating system like the latest 64-bit release of Ubuntu Linux or (gasp!) Windows. Then make sure it’s setup and configured properly, test drive your machine a bit, and install all your applications. I set up mine to dual boot between Ubuntu (for 99% of my daily use) and Windows 7 (for occasional casual gaming).
And that’s it! See how easy that was? In my next do-it-yourself post, I’ll show you how to build a electromagnetic plasma-ion propulsion system.
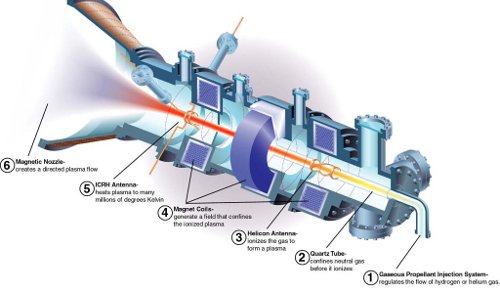
…or maybe not.


